
Make a Bootable Mac OS X 10.7 Lion Installer from a USB Flash Drive
Mac OS X 10.7 (11a494) Lion Install DVD - full iso image
Download : Get this torrent
How to install mac os x 10.7 install DVD lion on your windows pc by using virtual player
or vmware workstation.
1. For installing mac os x 10.7 lion on your window pc you have to require mac os x 10.7 which you have licence version or
you may download from torrent you have to require vmware workstation 7.1.1 which you can download from torrent or
you may purchase lisense version of virtual matchine and pach of vmware os x lion.
2. First you have require to set up your window bios hardware virtualization enable for that you have to restart your pc and
when boot start press esc key and select system settings and set hardware virtulization enable.
3 After that install your virtual matchine select next and select typical and select next.
4. After selecting next you want to select install latter and give next after that you give memory 200 gb and you may store
that file select your location.
5. After selecting location and give memory size 200 GB and select want to keep in single file option and give next two times
you can see vmware player screen with you have created virtual player.
that file select your location.
5. After selecting location and give memory size 200 GB and select want to keep in single file option and give next two times
you can see vmware player screen with you have created virtual player.
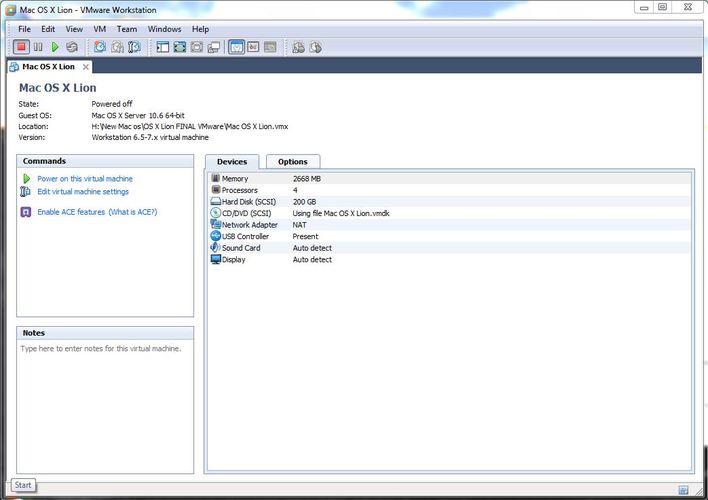
6. After that you can select edit virtual matchine settings and open your setting and set memory 2668 MB and processors 4
both processers 2 and hard disk size is 200 GB
7. Now in CD/DVD option you can select your mac os x 10.7 lion DVD iso file or if you have Mac OS X Lion.vmdk file if you
have iso file then you can select that file and press ok
8. Finally power on your mac os x and you can press ctrl+G to enter in wmware matchine and press F8 for boot your iso file
after that you can select your DVD option.
9. After that you can see apple ios is boot in your virtual matchine and now you can follow installation guide of mac os x 10.7
lion.
10. when you install mac os x 10.7 lion on vmware workstation then you can see all the screen given below.
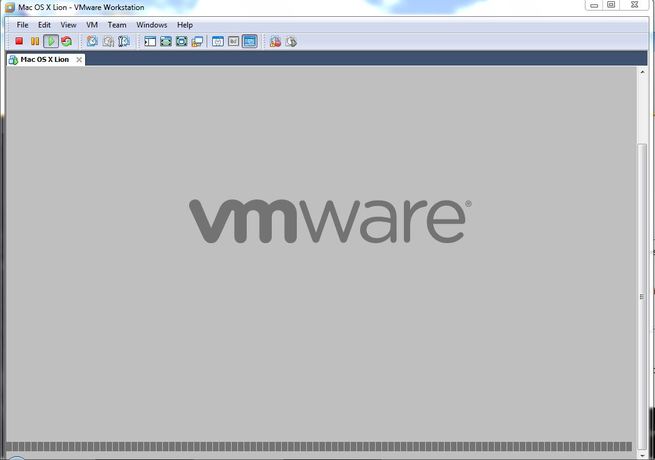
vmware startup screen
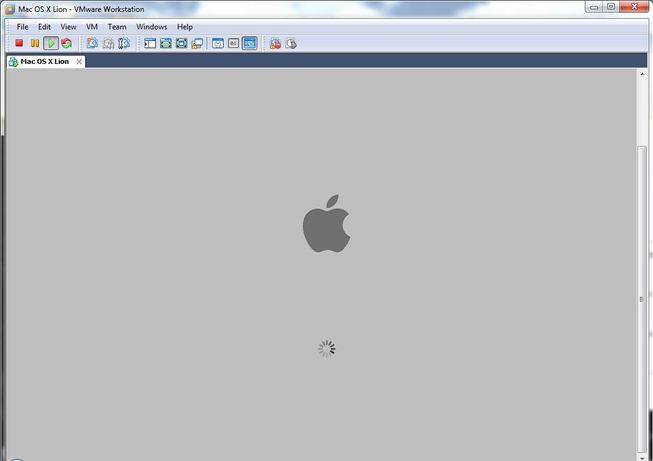
mac os x 10.7 startup screen
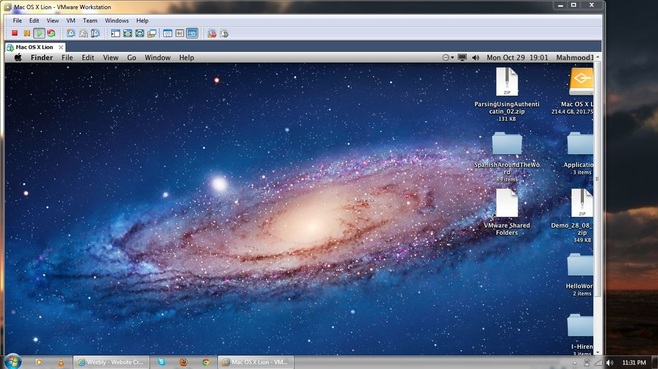
mac os x 10.7 lion run on windows pc

I’m going to walk through the process of making a bootable Mac OS X 10.7 Lion installation drive out of any USB flash drive key. This is similar to the process of making a bootable Lion installer DVD, but I prefer a USB flash drive because it’s faster, smaller, and I have a MacBook Air so an installation DVD isn’t too useful for me.
This is pretty easy to do, but I have made the walkthrough as simple as possible with plenty of screenshots, so just follow along the instructions.
Requirements:
- A Mac with Mac OS X 10.6.8 so you can download and access Lion
- 8GB+ USB flash key drive, these are cheap and ubiquitous on Amazon.com
- Download Mac OS X Lion from the Mac App Store ($29.99)
How to Create a Bootable Mac OS X Lion Installation USB Drive
We’re going to assume you already have Mac OS X Lion downloaded from the App Store, if you don’t, do that first. If you have anything stored on the USB flash drive you’re going to lose it, so be prepared for that and back it up.First we are going to locate the Lion InstallESD.dmg file and mount it:
- Navigate to your applications folder
- Right-click (or control-click) on the “Install Mac OS X Lion.app” and select “Show Package Contents”
- Open the “Contents” directory and then go into “SharedSupport”

- Double-click on “InstallESD.dmg” to mount the Lion disk image onto your Mac desktop, it will show up like the image below

- Plug the USB flash drive into your Mac
- Launch Disk Utility
- Select your USB drive from the left side of Disk Utility, then click on the “Erase” tab
- Choose “Mac OS Extended (Journaled)” as the Format, and name the USB key what you want
- Click on “Erase” to format the USB drive

Now that the USB flash drive has been formatted to the appropriate filesystem, we are going to restore the previously mounted InstallESD.dmg file to the blank USB drive.
- Right-click on the USB drive in Disk Utility and select “Restore”
- Now you need to set the source disk for the restore. This is why we mounted the InstallESD.dmg file earlier, because we can just drag and drop the “Mac OS X Install ESD” image into the “Source” – if you didn’t mount the image, you can manually locate and select the image file yourself by clicking on “Image”


- Drag the formatted USB key to the “Destination” and check “Erase destination”
- Be sure you have the right things in the right places, you don’t want to format the wrong drive – then click on “Restore”

When this is finished, your bootable Mac OS X Lion installer drive is complete! You can now boot any Lion compatible Mac with the USB drive, just plug the USB key in, hold down Option during initial boot, and select the drive. Here’s what you’ll see upon booting with the drive connected:

From here you can format, restore from backups, or reinstall Lion. If you’re wondering about the other drives pictured, it’s because I am dual booting Lion and Snow Leopard, and “Recovery HD” is the small recovery partition that Lion installs on its own. This process should work with a standard external USB hard drive too, but I have not tried that specifically.
Advantages to making a bootable Lion USB drive:
- You can perform a clean OS X Lion install with the USB drive
- The Lion USB key drive becomes a recovery disk with access to Disk Utility, re-installation, access Time Machine backups, and everything the Recovery HD partition does
- You will have external media to recover and reinstall Lion in the event of total drive failure or some other catastrophe
How to Install & Dual Boot Mac OS X 10.7 Lion and 10.6 Snow Leopard

Mac OS X 10.7 Developer Preview can be installed and ran alongside Mac OS X 10.6 on the same drive, all you need to do is partition your existing boot disk and I’m going to show you exactly how to do this in a step-by-step guide (alternatively, you can run it in VMware too).
Why do this? Having two separate installations of Mac OS X has several advantages over installing Lion atop your existing 10.6 installation (the default method), here are the primary reasons I recommend dual booting instead:
- Installing future 10.7 Lion releases will be easier
- You are free to uninstall Lion at any time – without dual booting this requires a system restore from a 10.6 backup
- You don’t have to use Lion as your primary operating system – remember it’s a developer preview and not intended for every day use
Important: Make sure you have a backup of your existing Mac OS X installation and disk before continuing with this guide. Time Machine makes this very easy. Any time you edit a drives partition table or install a new operating system there is always a small chance something could go wrong, so just be safe and have a backup ready.
Let’s get started!
1) Create a partition for Mac OS X Lion
You can create a new partition on your hard drive with Disk Utility, this does not require you to reformat the drive and you should not lose any data (besides, you have that backup just in case something goes wrong, right?).- Launch Disk Utility
- Select your hard drive from the left hand side
- Click on the “Partition” tab at the top
- Click on the “+” icon to add a new partition, name it ‘Lion’, or chimichanga, or whatever you want
- Set the partition size for Lion, I chose 20GB to make it easy
- Click on ‘Apply’ to create the new partition, and you’ll see a message like this one:

- Click on “Partition” to create the partitions as indicated

Now that you have the partitions squared away, we’re on to step 2.
2) Install Mac OS X 10.7 Lion on the new partition
Now it’s time to install 10.7. The key here is to install Lion on the newly created partition and not the default which is atop 10.6. This is what will enable you to dual boot between 10.7 and 10.6:- Launch the Mac OS X 10.7 Installer and when it asks what drive to install on, choose the options to specify your own
- At the “Install Mac OS X” screen, click to select the partition that you created in Step 1, I named it Lion as you can see in this screenshot:

- Optional step: Want to install Lion Server? Click on “Customize” and select the checkboxes for Lion Server
- Click on “Install” and let the installer do it’s business

Just let this be as it runs. You’ll see a preparation window and then your Mac will reboot into the full installer. Due to the fact that you are installing from your local disk to another partition, the whole process is much faster than it would be to install from a DVD. On my MacBook Air 11″ the entire Lion installation took about 15 minutes.
When Lion is finished installing, your Mac will now automatically boot into 10.7.
3) Set your default boot drive: Mac OS X 10.7 Lion or 10.6 Snow Leopard
Now that Lion is installed, your default boot drive is set to 10.7. You can adjust this to be 10.6 too:- Launch System Preferences
- Click on “Startup Disks”
- Select your default boot drive and operating system

That’s really all there is to it.
4) Dual Booting: Select which Mac OS X volume to load on boot
If you want to boot into a different Mac OS X installation than the one that is set as your default in the previous step, you can hold down the Option key during reboot. You will then see a boot loader like the image at the very top of this tutorial, where you can select which Mac OS X version and volume to boot from.This is dual booting at it’s finest, and this is the best way to run the Lion Developer Preview. Remember, this is a developer preview for a reason, it’s not meant to be a stable operating system for daily use. Many have installed 10.7 Lion on top of their existing 10.6 Snow Leopard installation, and while this may be the easiest method it can’t be directly undone and instead requires a complete system restoration to uninstall and revert back to Snow Leopard. That’s a huge pain, just give Lion it’s own partition and make it easy on yourself.
How to Make a Bootable OS X 10.8 Mountain Lion USB Install Drive

OS X 10.8 Mountain Lion will be offered exclusively through the App Store, familiar territory for Apple since OS X Lion was provided the same way. Thankfully it’s still possible to create a bootable OS X 10.8 Mountain Lion installer from any USB drive, be it a flash key or external hard drive.
By creating a bootable install drive, you can perform clean OS X 10.8 installs, install it on separate partitions, and install OS X Mountain Lion on Macs that don’t have internet connections. We’ll walk through the process here, but don’t forget to check OS X 10.8 system requirements for the destination Mac before beginning.
If you already have the Mac OS X Mountain Lion install DMG extracted, skip this first set of steps and jump directly to making the bootable drive below.
Download OS X Mountain Lion and Extract the DMG File
- Download OS X 10.8 Mountain Lion from the App Store
- Go to the /Applications/ directory and right-click on “Install Mac OS X Mountain Lion.app” selecting “Show Package Contents”
- Open the “Contents” directory and then open “SharedSupport”, looking for a file named “InstallESD.dmg”
- Double-click on InstallESD.dmg to mount it on the desktop
Make the OS X Mountain Lion Install Drive
- Launch Disk utility and connect a USB drive to the Mac
- Select the USB drive from the left menu and click on “Erase” tab, choose “Mac OS X Extended (Journaled)” as the format, then click on the “Erase” button in the corner
- Now select the formatted USB drive from the left side and click on the “Restore” tab
- Drag the previously mounted “Mac OS X Install ESD” image into the “Source” section
- Drag the formatted partition to the “Destination” section, then click on “Restore”
- Confirm that the USB drive will lose it’s data and enter the Admin password when asked


When finished, reboot the Mac and hold down the Option key to bring up the boot menu:

Select the orange “Mac OS X” option and you will boot into the OS X Mountain Lion installer, from here installation is the same as normal. Click on Continue, select the destination drive, and install.

How to Re-Download OS X Mountain Lion Installer from the Mac App Store

After you’ve upgraded to OS X Mountain Lion on the primary Mac you bought it from, the installer app deletes itself from your /Applications/ folder. This makes sense for those who only own a single Mac, but if you plan on installing OS X Mountain Lion on multiple Macs or just want to create an additional boot USB drive for installs and upgrades, it’s kind of annoying.
If you fall into the multi-Mac category or want a backup of the installer around, you’ll need to re-download the Mountain Lion installer app from the Mac App Store – you will not be charged again for redownloading – here’s how:
- Launch the Mac App Store and hold down the “Option” while clicking on the “Purchases” tab
- Locate “OS X Mountain Lion” in the list, and click on the “Install” button to redownload
- Find the “Install OS X Mountain Lion” app in your /Applications/ folder when finished downloading
Restore Accidentally Deleted Apps on iPhone & iPad

Don’t freak out if you accidentally deleted an app on an iPhone or iPad, they can be easily redownloaded and restored at anytime:
- Open “App Store” and tap on “Purchased” at the bottom of the screen
- Tap on the “Not On This iPad” tab at top (or “Not On This iPhone”)
- Find the accidentally deleted app in the list and tap the cloud arrow icon to redownload the app, enter Apple ID password when requested
The app will redownload and reinstall itself. You will not be charged for redownloading apps that you already own as long as the Apple ID is the same.
iOS apps aren’t the only thing that can be recovered and redownloaded easily though, and this method will work with iTunes Store purchases and Mac App Store purchases as well.


No comments:
Post a Comment